
Longspan Shelving Dimensions Explained
April 25, 2024
How to Spot the Signs of Longspan Shelving Damage
May 28, 2024
When you’re preparing to optimise your storage space, selecting the correct longspan layout is crucial. You will need to consider the dimensions and weight of the items you are storing, as well as how frequently you will need to access them. This choice not only affects your day-to-day activities but also the efficiency and scalability of your space.
Remember, the right layout can improve productivity and streamline your processes, but the question remains—how do you determine which layout best suits your specific requirements?
Let’s examine the key considerations that will help you make an informed decision, ensuring your setup caters to both current and future needs.
1. Understanding Your Space
Before you can finalise your longspan layout, you’ll need to thoroughly understand your available space. Start by taking precise measurements of the area; this includes noting any existing obstacles that could impact the layout.
Also, consider the traffic flow within the space to guarantee efficiency and safety in your design.
1. Taking Measurements
To ensure your storage setup fits perfectly, begin by carefully measuring the height, width, and depth of your designated area. This precise approach guarantees the optimal use of space and maximises storage capacity.
Avoid estimating; use a trustworthy tape measure and record the dimensions accurately. These measurements are crucial for designing bespoke layouts that improve space utilisation and organisation.
By having precise measurements, you can plan how to strategically position items for easy access and efficiency. It’s also important to incorporate safety measures by allowing enough space for safe movement around the storage units.
A detailed diagram of the area, created using these measurements, will act as your guide to a well-organised and functional storage space.
2. Existing Obstacles
After taking accurate measurements of your space, remember to consider any existing obstacles such as windows, doors, and uneven surfaces that could affect your layout decisions. The positioning of obstacles is crucial as it determines how you will navigate around these elements.
You should also consider clearance requirements to ensure there is enough space for operations without any obstructions. This may require making layout adjustments, where you strategically place your longspan shelving to make optimal use of the available area.
Navigating around obstacles is essential for maximising efficiency and safety. Be aware of space limitations imposed by these obstacles, which might limit your choices but could also spark more creative solutions to utilise every inch of your workspace effectively.
3. Traffic Flow
Understanding your space involves considering the traffic flow to ensure easy access and movement around your longspan shelving. You’ll want to analyse traffic patterns to improve efficiency within your layout.
An ergonomic design ensures accessibility, reducing strain and increasing productivity. It’s crucial to balance storage density with organisation, allowing for a streamlined inventory management system that supports a smooth flow of goods.
By focusing on workflow optimisation, you’re not just arranging items; you’re strategically utilising every inch of space available. This considerate arrangement helps to prevent bottlenecks and facilitates quicker, more efficient operations.
Keep these elements in mind to create a layout that supports both immediate needs and future growth.
Inventory Evaluation
As you evaluate your stock for a longspan layout, take into account the size and weight of the items.
It’s crucial to assess how frequently each item is used; this will affect where they should be positioned for optimal accessibility.
Remember, both factors will significantly affect the efficiency of your storage solution.
1. Size and Weight
Before setting up your longspan shelving, assess your inventory by categorising items based on their size and weight. This will guide your decisions on shelf spacing, aisle width, and overall system capacity.
You’ll need to guarantee the weight capacity of your shelving can handle the heaviest items without compromising structural integrity. Consider size constraints to determine how much space each item requires and plan for efficient load distribution to avoid overloading any section.
Proper equipment placement is essential for maintaining balance and accessibility. By meticulously planning based on the size and weight of your inventory, you’ll optimise the use of space and maintain the safety and functionality of your storage system.
2. Frequency of Usage
How often do you assess each item in your inventory?
Items that are used regularly should be given a prominent position in your storage system. Arrange for easy retrieval by placing these items at eye level or within reach, ensuring they are part of an organised layout that facilitates quick access.
This user-friendly design is not just about convenience; it aims to boost productivity by minimising the time spent searching for these items.
Items that are used less frequently can be stored at higher levels or in less accessible areas, as they do not need to be readily available at all times.
Layout Options
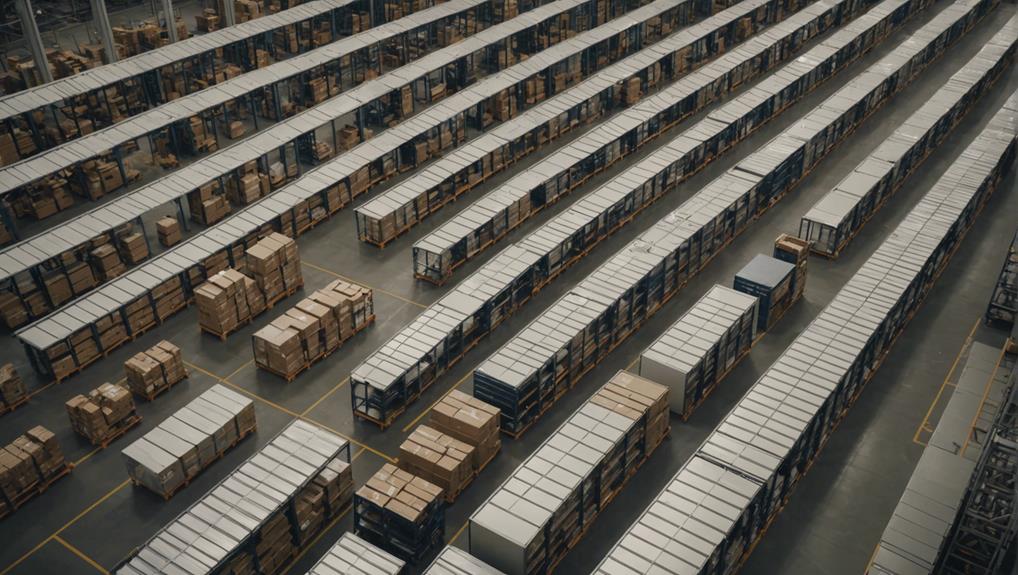
When you’re planning your warehouse space, understanding your layout options is essential.
You can choose from a single row layout, a double row layout, a U-shaped layout, or a multi-level layout, each with its own advantages.
It’s important to take into account the specific needs of your operations to determine which configuration will maximise efficiency and storage capacity.
1. Single Row Layout
A single row layout is ideal for narrow spaces or placement against a wall, providing easy access while potentially limiting storage capacity. This setup excels in space efficiency, allowing you to maximise the usable area of your facility without unnecessary clutter.
You’ll find various accessibility options which make it easier to reach items quickly and efficiently. However, be aware of the inherent storage limitations; this layout might not suit bulk storage needs. Nevertheless, its design flexibility allows for customisation according to specific organisational strategies.
You can tailor shelving heights and depths to optimise the available space, ensuring that every inch serves a purpose. This layout type enables streamlined operations and improved workflow within constrained environments.
2. Double Row Layout
Whilst the single row layout is suitable for narrower spaces, the double row layout provides a sturdy solution for those requiring increased storage capacity.
By incorporating a central aisle between two sets of shelves, you can optimise storage potential, improving shelving efficiency and space usage. This configuration not only enhances storage capacity but also enables smooth movement and access, making it easier to reach and organise products effectively.
The strategic positioning of shelves ensures that each item is easily reachable, encouraging efficient product organisation. Although it may need more floor space, the double row layout is perfect if you want to enhance your storage capabilities without sacrificing access or efficiency.
This layout is a wise option for maximising your storage environment.
3. U-Shaped Layout
Enclosing three sides, the U-shaped layout creates a designated storage zone that enhances item flow in larger spaces. This design maximises space utilisation by effectively using the perimeter of the area, allowing the centre to remain clear for operations. You’ll notice an increase in workflow efficiency as this layout reduces unnecessary movements, streamlining the process of accessing goods.
Additionally, the U-shaped layout boosts your storage capacity without compromising accessibility options. Each point of the ‘U’ can be tailored with ergonomic design elements to minimise physical strain, facilitating a safer and more productive environment for your team. It’s ideal for ensuring that frequently used items are easy to reach, thereby accelerating task completion and improving overall operational effectiveness.
4. Multi-Level Layout
Maximise your vertical space by adopting a Multi-Level Layout, which stacks shelving units to make full use of high ceilings. This approach is vital for utilising vertical space efficiently.
However, you’ll need to implement strict safety precautions as accessing heights introduces risks. It’s essential to equip your team with the right tools and knowledge to safely navigate multi-tier shelving. Equipment needed could include safety harnesses, ladders, or even specialised forklifts designed for higher reaches.
Always make sure that all equipment is up-to-date on maintenance and that your staff is trained on proper usage.
Optimising Your Layout
To ensure you’re making the most of your longspan shelving, you need to consider several important factors that can significantly enhance efficiency and storage capacity.
Firstly, the width of your aisles should strike a balance between accessibility and maximising space. Furthermore, utilising vertical space and incorporating double-stacking are crucial for improving storage, while clear labelling simplifies operations and reduces retrieval times.
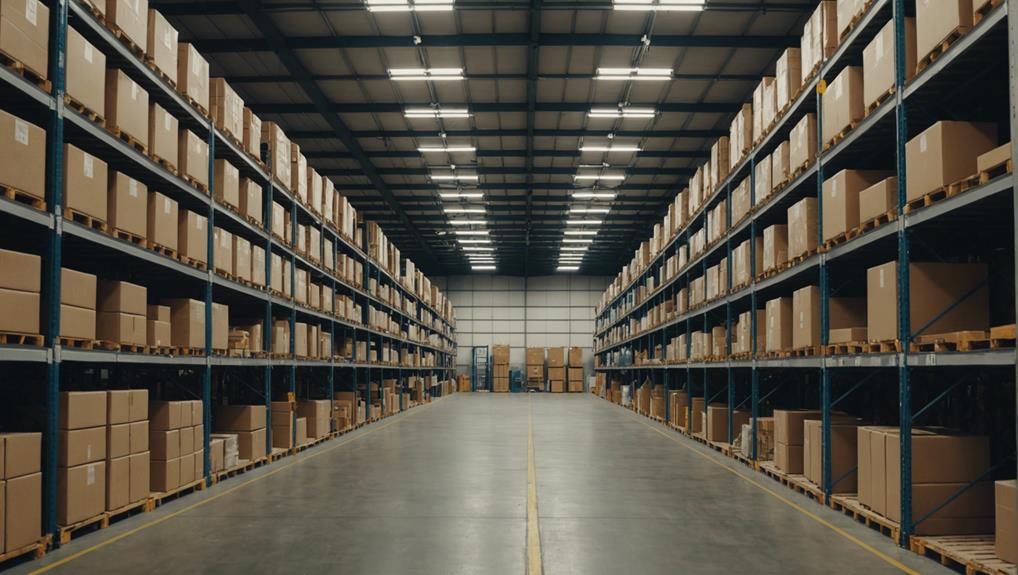
1. Aisle Width
Consider allocating wider aisles if you frequently access bulky items, ensuring comfortable movement and easy retrieval. Wider pathways not only improve aisle clearance, making it easier to navigate through the space with large or awkward objects, but they also enhance storage accessibility.
When you plan your aisle width, think about the types of items you store and the frequency of access required. The ideal pathway width facilitates smoother item retrieval and contributes to overall movement ease within the storage area. By prioritising these factors, you’ll create a more efficient and safe workspace, minimising potential disruptions and improving operational flow.
2. Vertical Space Utilisation
Leverage your facility’s vertical space by installing taller uprights or adding mezzanine levels to enhance storage capacity and efficiency. By focusing on height optimisation, you’ll maximise vertical storage and improve space efficiency.
Opt for tall shelving units that reach towards your ceiling, effectively making use of air rights that typically go unused. This approach not only increases your storage area but also keeps your floor space less cluttered.
The inclusion of mezzanine floors is particularly beneficial, as they double as extra storage layers or work areas without the need for additional ground space. Mezzanine benefits extend to better inventory accessibility and streamlined operations, making your longspan layout more productive and adaptable to varying inventory sizes and volumes.
3. Double-Stacking
Maximising your storage density can be effectively achieved by double-stacking appropriate items on your shelves. This method boosts space efficiency by utilising vertical space, thereby increasing your storage capacity without expanding the footprint.
However, it’s important to take into account accessibility challenges; items on lower levels should be those used more frequently to avoid frequent unstacking. Additionally, you must adhere to safety precautions, ensuring weight distribution is even and doesn’t exceed shelf capacity limits to prevent accidents.
Implementing double-stacking also brings organisational benefits, helping to keep similar items together and reducing clutter. Always check the stability and accessibility of stacked items to maintain a safe and efficient storage environment.
4. Labelling
To optimise your longspan shelving layout, ensure that each shelf and bin is clearly labelled for quick and efficient item retrieval. Effective label organisation enhances storage efficiency by allowing for easier inventory control and faster retrieval speeds.
It is crucial to implement a system where labels are not only readable but strategically placed to be easily visible. This form of visual identification helps to minimise errors and streamline the workflow.
Consider using colour coding or barcodes to further enhance the efficiency of your system. Accurate and clear labelling is essential in a well-organised storage area, ensuring that every item is exactly where you expect it to be, thereby saving time and reducing frustration during item retrieval.
Safety Considerations

It’s important to recognise safety considerations when you are setting up a longspan shelving layout from the start.
You must ensure that weight distribution is even to prevent any structural imbalances that could lead to accidents.
Moreover, securing anchors correctly and allowing plenty of space for manoeuvring are crucial steps to uphold a safe working environment.
1. Weight Distribution
Make sure you distribute weight evenly across shelves to maintain safety and prevent overloading. Proper weight distribution enhances efficiency by optimising storage capacity and organisation.
Adhering to the load capacity of your shelving guarantees safety and prevents structural failures. Efficient space utilisation not only boosts productivity but also streamlines operations in your storage area.
Consider the ergonomics of your shelf layout; it should facilitate easy access and minimise strain for users. By organising items strategically based on weight and size, you optimise the functionality of your storage system.
2. Anchor and Stability
Ensuring your longspan shelving is securely anchored to the wall is essential to prevent it from tipping or swaying under heavy loads. Secure anchoring ensures stability, especially important for tall systems where swaying prevention becomes a critical safety priority.
Wall anchoring not only contributes to the overall stability of your setup but also greatly enhances load distribution safety. This approach is particularly important when dealing with heavy loads, where stability concerns are paramount.
3. Room for Manoeuvring
After securing your longspan shelving to the wall, remember to maintain sufficient space between the shelves and walls to guarantee safe and easy item movement. This manoeuvring clearance isn’t just about space efficiency; it’s essential for safety and accessibility considerations.
You’ll need ample room to handle items without risk, ensuring that your environment supports both storage optimisation and movement flexibility. By planning for enough space, you’re not just making life easier; you’re also enhancing the functionality of your storage area.
Think of this space as a vital component of your layout that affects how effectively you can access and organise your inventory. Always measure and adjust to maintain these clearances as it directly impacts the operational flow.
Summary
Understanding your space and inventory needs allows you to create a longspan shelving layout that maximises storage while ensuring safety and efficiency. This approach enhances shelving efficiency by adapting the design specifically to fit your requirements.
Effective storage solutions are vital, and with the right layout, you can achieve optimum space optimisation. This not only brings organisational benefits by keeping your items neatly arranged and readily accessible but also integrates essential safety measures to protect both your merchandise and staff.


